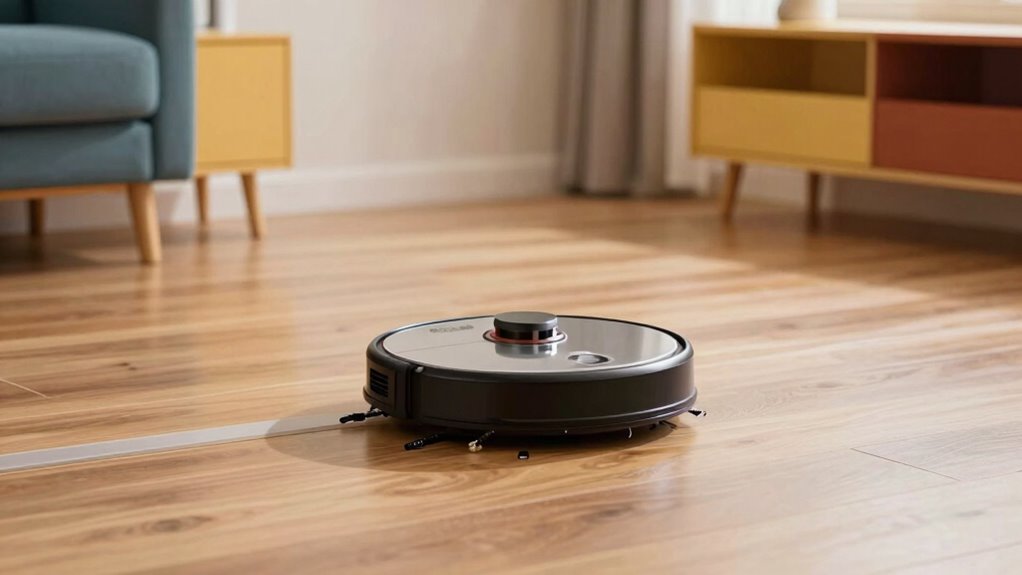

To make your robot vacuum work better from day one, set it up with a clear layout and a well-placed docking station in an accessible, obstacle-free area. Establish a consistent cleaning schedule based on your household activity and dirt levels, and program the device to understand your space. Using the latest features for navigation and coverage will improve performance. Keep the battery healthy and plan for future needs, helping your cleaner run smoothly right from the start. Keep exploring for more tips.

Get smart everyday buys delivered free with Prime
- Fast, free delivery on millions of items
- Prime Video, Amazon Music and more included
- Member-only deals all year
Key Takeaways
- Properly place the docking station in an accessible, obstacle-free area for easy charging and navigation.
- Schedule initial cleaning during low-traffic times to prevent interruptions and optimize coverage.
- Fully charge the vacuum before its first use to ensure maximum battery capacity.
- Map and understand the layout to program efficient cleaning paths and avoid obstacles.
- Regularly maintain the battery and update firmware to ensure consistent, long-lasting performance.
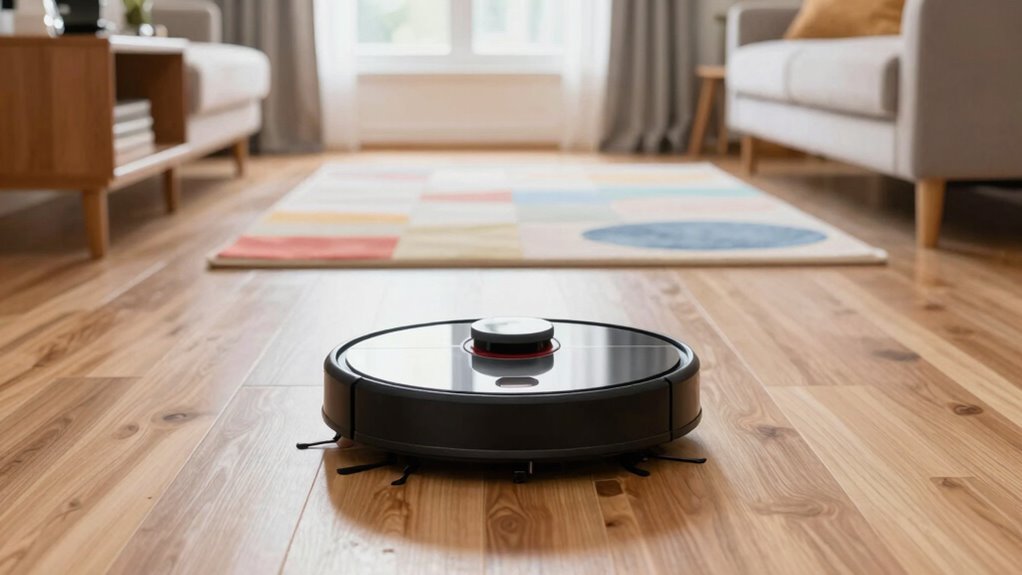
Setting up your robot vacuum correctly is essential to guarantee it cleans efficiently and lasts longer. When you first install your device, you want to establish a clear cleaning schedule that suits your lifestyle. Decide how often your robot should run—daily, every other day, or weekly—based on your household’s activity level and the amount of dirt or debris it needs to handle. A consistent schedule not only keeps your floors cleaner but also helps the robot develop a routine, making its navigation more effective over time. It’s crucial to program the device to operate during times when it won’t be interrupted by human activity, such as early mornings or late nights. This way, you maximize its cleaning efficiency without sacrificing convenience.
Equally important is prioritizing battery maintenance from the start. Your robot vacuum’s battery is its power source, and caring for it properly ensures optimal performance and longevity. Always charge the vacuum fully before its first use, and avoid letting the battery drain completely before recharging. Regularly charging it to full capacity helps maintain the battery’s health, preventing premature deterioration. If your model includes a docking station, place it in an accessible, open area free from obstacles so your vacuum can easily find its way back for charging. Avoid blocking the charging contacts or exposing the battery to extreme temperatures, as these conditions can reduce battery life. Some models have removable batteries, and if yours does, keep spare batteries charged and ready to swap in when needed, especially if you have a large space or multiple cleaning sessions scheduled. Proper battery maintenance is key to ensuring your vacuum stays operational when you need it most. Additionally, being aware of technology features such as smart navigation can further enhance its cleaning efficiency and ease of use. Taking the time to understand the layout of your space can also help the vacuum optimize its cleaning path and avoid obstacles, resulting in better coverage from the start. Proper setup from the outset, with a well-planned cleaning schedule and diligent battery maintenance, makes a significant difference in how well your robot vacuum performs from day one. It’s a simple but effective rule that ultimately guarantees longer-lasting, more efficient cleaning.
As an affiliate, we earn on qualifying purchases.
Frequently Asked Questions
How Often Should I Repeat the Setup Process for Optimal Results?
You should repeat the setup process, including cleaning patterns and battery calibration, every few months for best results. Regularly recalibrating the battery ensures accurate navigation, while updating cleaning patterns helps the vacuum adapt to your changing space. This practice prevents performance issues and maximizes efficiency. Keep an eye on your robot’s behavior, and if it starts acting irregularly, repeat the setup steps to maintain smooth, effective cleaning.
Does the Setup Rule Vary for Different Robot Vacuum Models?
Yes, setup rules can vary depending on the robot vacuum model due to differences in model compatibility and features. You should always follow the manufacturer’s instructions for each specific model to guarantee maximum performance. Some models may require different initial configurations, mapping procedures, or app integrations. Paying attention to setup variations helps your vacuum work efficiently right from the start and prevents potential issues down the line.
Can I Skip Certain Setup Steps Without Affecting Performance?
You shouldn’t skip setup steps, as they’re essential for effective setup customization and performance tweaking. Skipping steps can lead to missed calibration or improper navigation, reducing cleaning efficiency. Follow the instructions carefully to optimize your robot vacuum’s performance from the start. Taking the time to complete each step guarantees your device adapts well to your space and functions smoothly, giving you the best cleaning results every time.
How Long Does the Initial Setup Typically Take?
The initial setup usually takes around 15-30 minutes. During this time, you’ll establish cleaning schedules and connect the vacuum to your Wi-Fi, ensuring smooth operation. Proper battery maintenance, like a full charge before first use, helps optimize performance. Setting up the boundaries and scheduling cleans early on allows your robot vacuum to work efficiently from day one, saving you time and keeping your space consistently tidy.
What Common Mistakes Should I Avoid During Setup?
Think of your robot vacuum as a tiny explorer; avoid common pitfalls like neglecting battery calibration and sensor alignment. Don’t rush the setup—skipping these steps is like sending it on a journey with a faulty compass. Make certain the sensors are aligned properly to prevent missed spots, and let the battery calibrate fully. This careful groundwork keeps your vacuum’s path clear, so it cleans confidently from the very first sweep.
As an affiliate, we earn on qualifying purchases.
Conclusion
By following this setup rule, you’ll find your robot vacuum works smoother and cleans better from day one. Think of it as giving your trusty steed a proper bridle before a long journey—you set the foundation for success. Don’t rush the initial setup, or you might feel like trying to steer a ship without a rudder. Take your time, get it right, and enjoy a cleaner home without the fuss—like a well-oiled machine from the Victorian age.
robot vacuum mapping and navigation
As an affiliate, we earn on qualifying purchases.
As an affiliate, we earn on qualifying purchases.
As an affiliate, we earn on qualifying purchases.
Halloween Picks
halloween
As an affiliate, we earn on qualifying purchases.